
Your guide
How to use Leads & Email.
People who fill out a form on your website are added for you. Here is everything else.
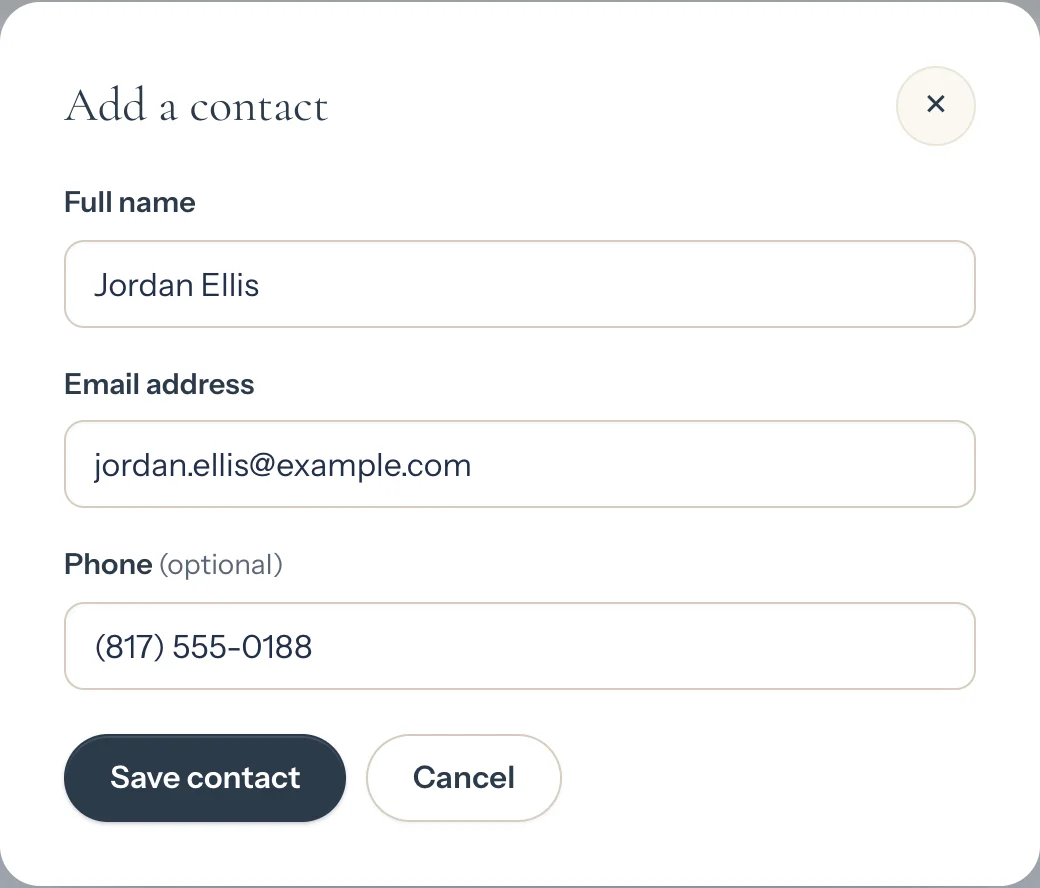
Add a contact
- Click Leads, then the Add a contact button.
- Type their name, email and phone.
- Click Save contact to add them to your mailing list.

Add a spreadsheet of contacts
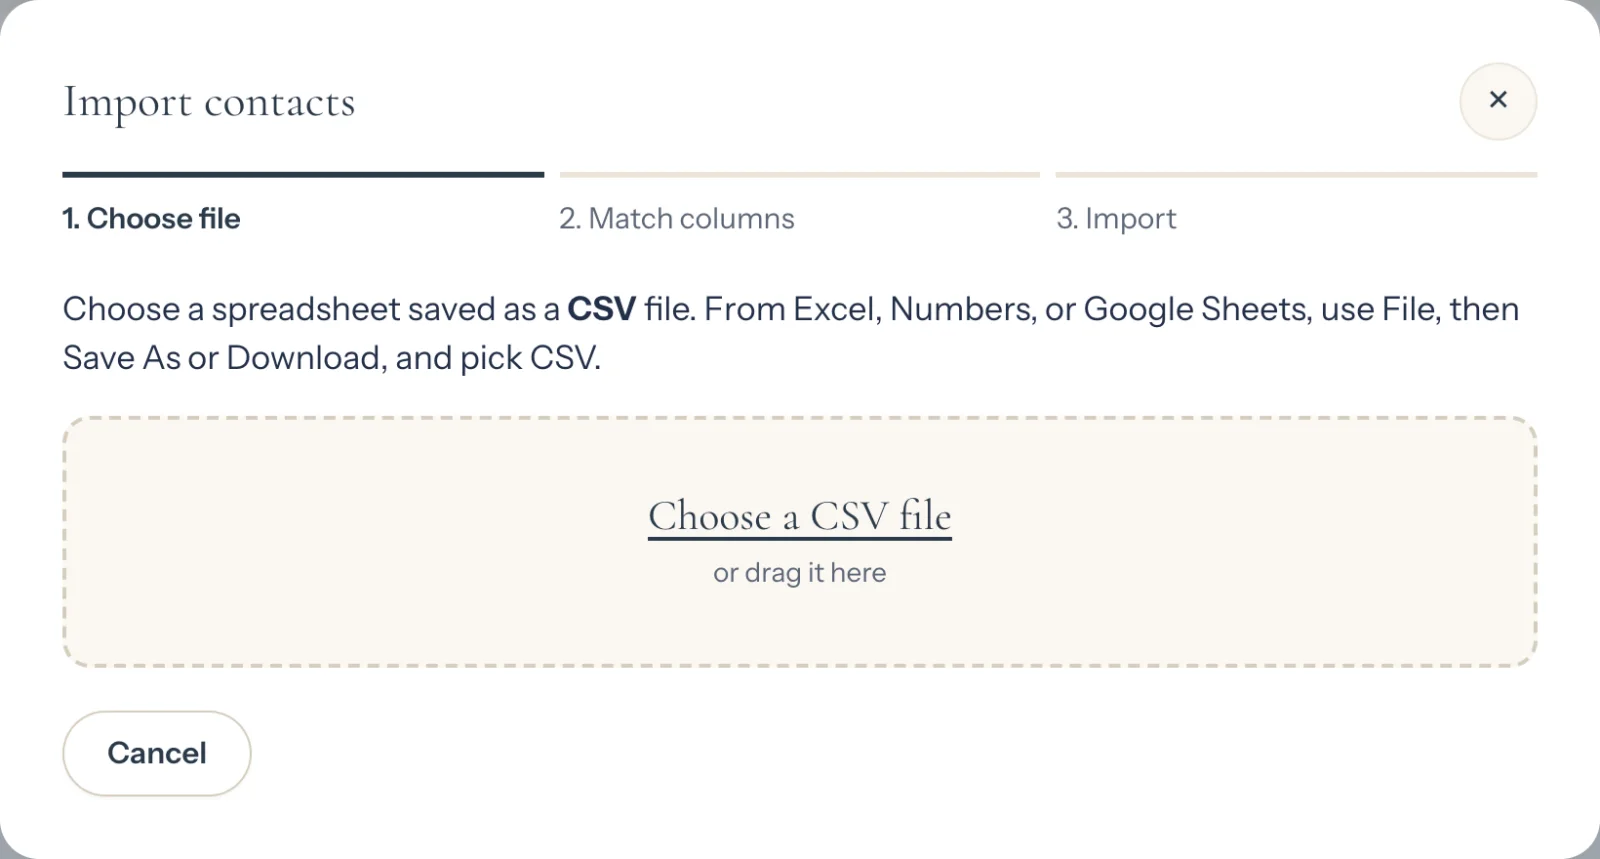
- In Excel, click File, then Save As, and choose CSV.
- Here, click Leads, then Import contacts, then Choose a CSV file.
- Check that each column matches the right detail, including Email.
- Click Import contacts, then Done.
Imported contacts join your mailing list. People who opted out stay unsubscribed.
Send an email to your list
- Click Write an Email. Choose Entire mailing list or Choose people. To choose people, search a name and click it; click a person’s × to remove them.
- Type a Subject and Your message. To feature a home, pick it under Include a listing, then choose Use ready-written text or Write my own. Watch the preview on the right as you type.
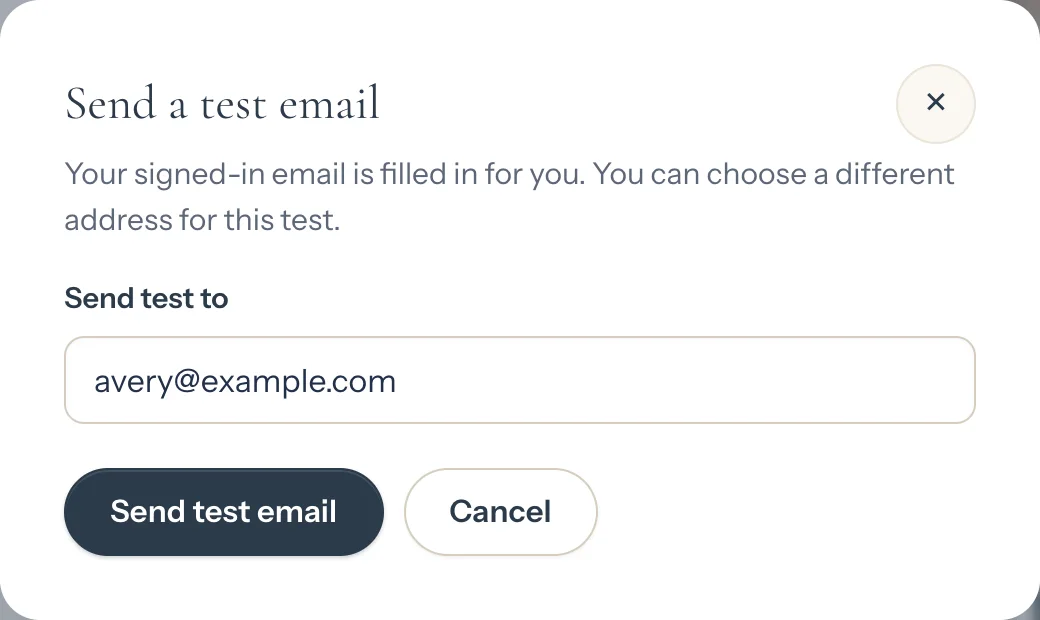
- Want to see it in your inbox first? Click Send me a test, keep your email address, and click Send test email.
- Ready? In the white bar along the bottom of the page, check the box, then click the Send button.
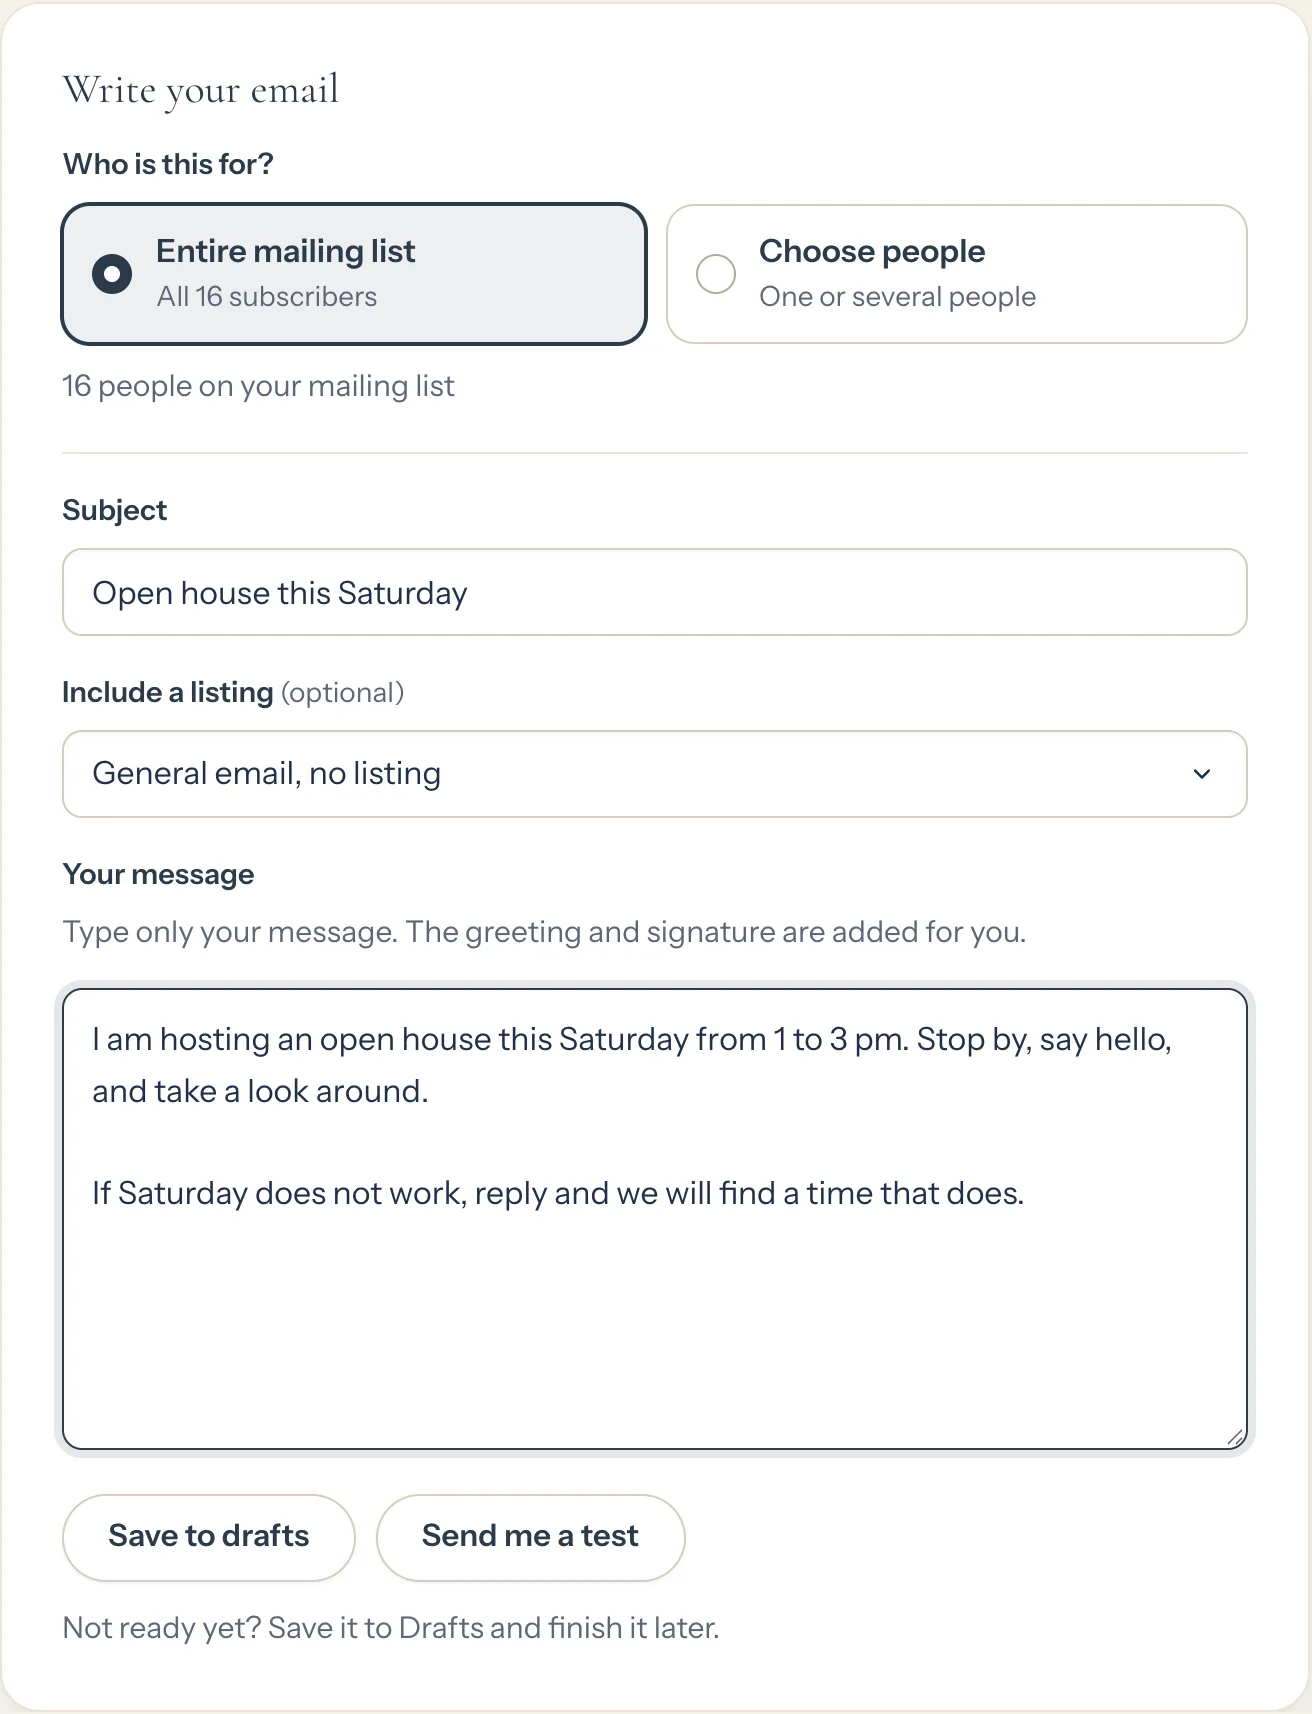

Not ready to send? Click Save to drafts and finish it later (see Sent and Drafts below). To email one person quickly, click the envelope icon beside their name on Leads. Type just the message: the “Hi Firstname,” greeting, your phone number and signature are added for you.
Sent and Drafts
Click Emails to see every email you have written. Two buttons at the top switch between Sent and Drafts.
Sent
Emails you already sent, newest first, with how many were delivered and how many people opened and clicked. Click one to see its results: who opened it, who clicked which link, and anyone who bounced or unsubscribed.
Drafts
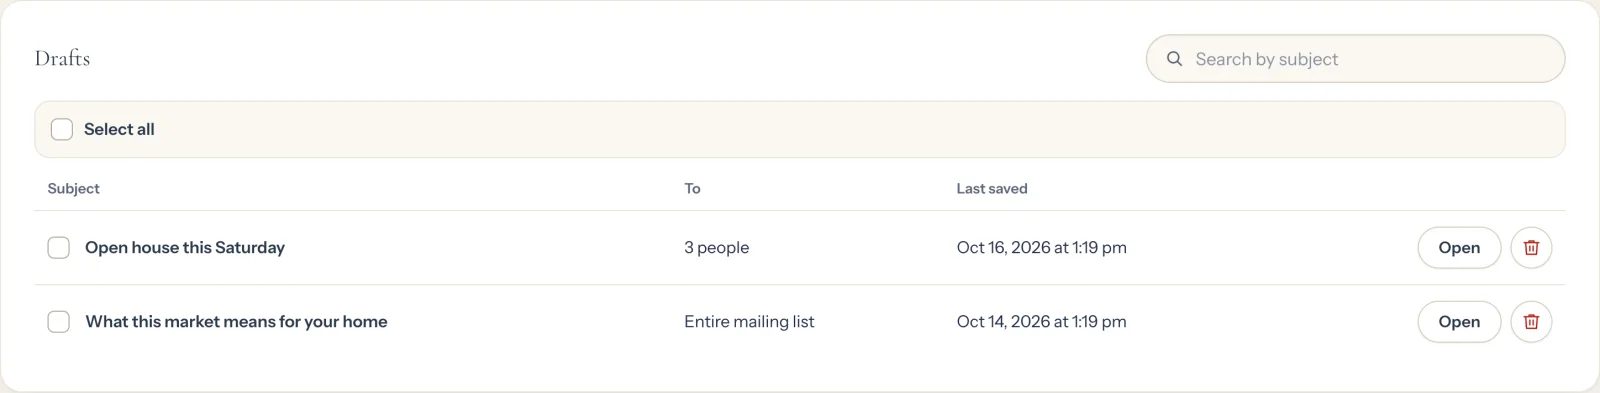
Emails you saved but have not sent. Nobody receives a draft. Click Open to finish it, then send it from the Write an Email page.
What the Sent labels mean
- SendingYour email is going out. This usually takes a few seconds; the page updates by itself. Until it finishes you can click it and choose Stop remaining emails.
- SentEveryone on the list has been sent the email. Click it to see who it was Delivered to, who Opened it and who Clicked. Opens are an estimate: some mail apps load pictures on their own, and some block them. Anyone whose address Bounced or who marked it as spam is taken off your list for you.
- StoppedYou stopped it. People who had not received it yet will not get it.
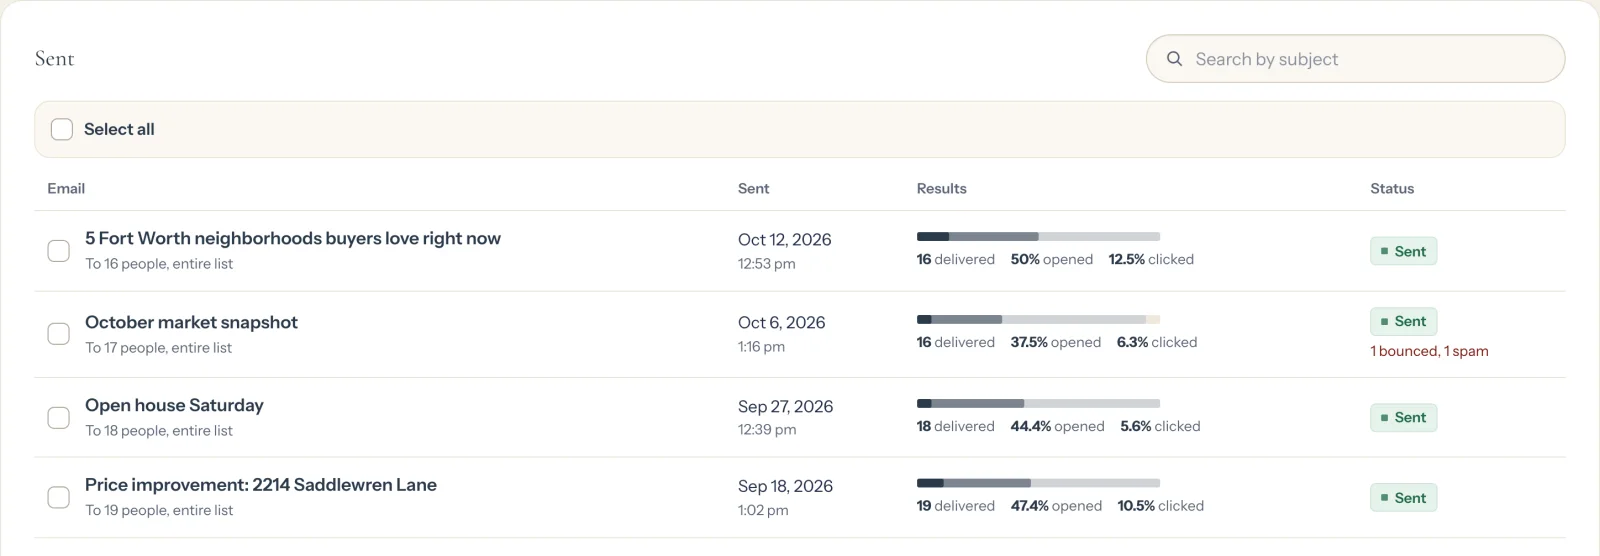
Use the search box to find an email by its subject. To clean up, check the boxes (or Select all), then click Delete selected. Deleting a sent email only removes it from this list; it cannot unsend it.
Change or remove someone
- Click Leads and type their name in the search box.
- Click Edit to fix their details, then Save changes.
- To delete them, click the trash icon beside Edit, then Delete in the pop-up.
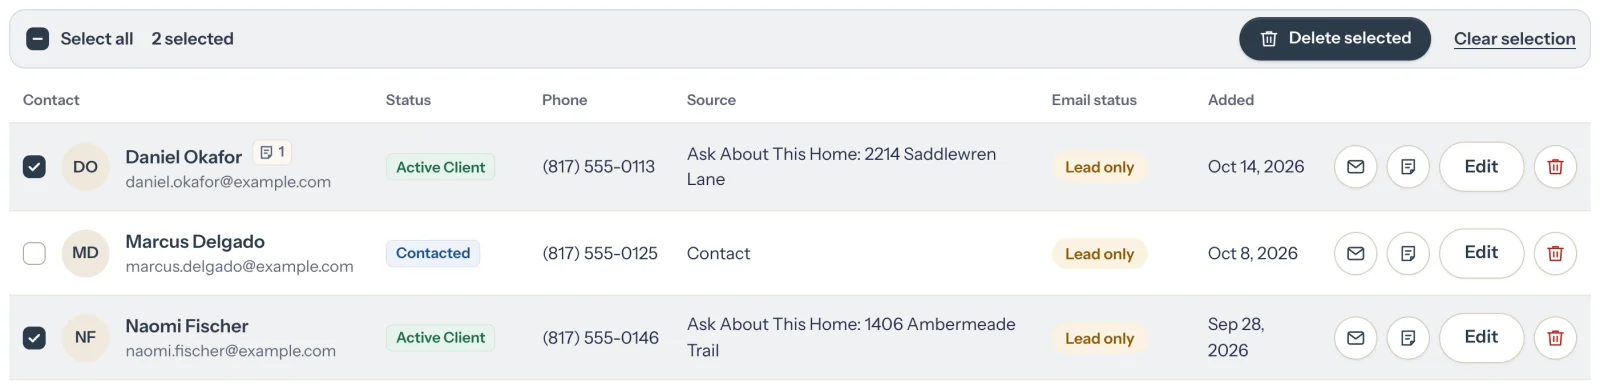
- To delete several people at once, check the box beside each name (or Select all), click Delete selected, then Delete. Drafts and sent emails work the same way.
Click a person’s name (or the notes icon) to open their details. Set their Status (New Lead, Contacted, Active Client, Under Contract, Past Client, Not Interested) and add private notes. Every note and status change is kept in their History, newest first. Notes are only for you: they never appear in emails or on your website. Use the status menu beside the search box to see one group at a time, and search finds words in your notes too.
Deleting someone removes them from your contacts and mailing list. To keep their contact details but stop emails, click Edit and check Remove from the mailing list.
Your logo, photo and email picture
- Click Write an Email, then Your email look above the preview. (Or click Email look at the top right of any page.)
- Beside the picture you want to change, click Upload (or Replace) and choose a picture from your computer or phone.
- It shows right away and saves on its own. Watch the preview change behind the pop-up, then click Done.
Logo in your emails
Sits at the top right of every email. Best: a PNG with a see-through background, about 600 pixels wide. A white logo gets a dark band behind it so it still shows. No logo? The one from your website is used.
Your photo
Shows as a circle next to your name at the top of every email, and at the top left of this app. Best: a square headshot with your face in the middle. Without one, your initials show.
Email photo
The wide picture at the top of a general update (emails about a listing show that home instead). Best: a wide, bright photo of a home, at least 1200 pixels wide. It is trimmed to a 2 to 1 shape from the middle.
Click Remove to go back to your website’s logo, your initials or the sample home photo. In the same pop-up you can also change Your name, Phone and the Closing line in the dark band at the bottom. Changes show on the next email you send; emails already sent stay as they were. JPG, PNG, WebP or HEIC, up to 5 MB.